There’s no shortage of confident answers about hammocks online. The trouble is that some of them are settled physics — and some are folklore, or plain personal taste, dressed up as fact. This article sorts one from the other.
Every question below is either technically tricky or genuinely contested among people who actually know this stuff. We answer as honestly as we can: we say “this one’s settled” when the physics is unambiguous, and “this one’s contested” when it genuinely is — even when that makes for a less sellable answer. That’s the whole point of asking the hard hammock questions: honest answers, not marketing.
New to hammock camping? Start with our hammock camping in Scandinavia guide and the underquilt guide instead. This one’s for readers who want to go deep.
1. Why do you lie diagonally in a hammock?
A gathered-end hammock is, at its core, a rectangle of fabric much wider than a human body, cinched to a point at each end. Two things follow from that.
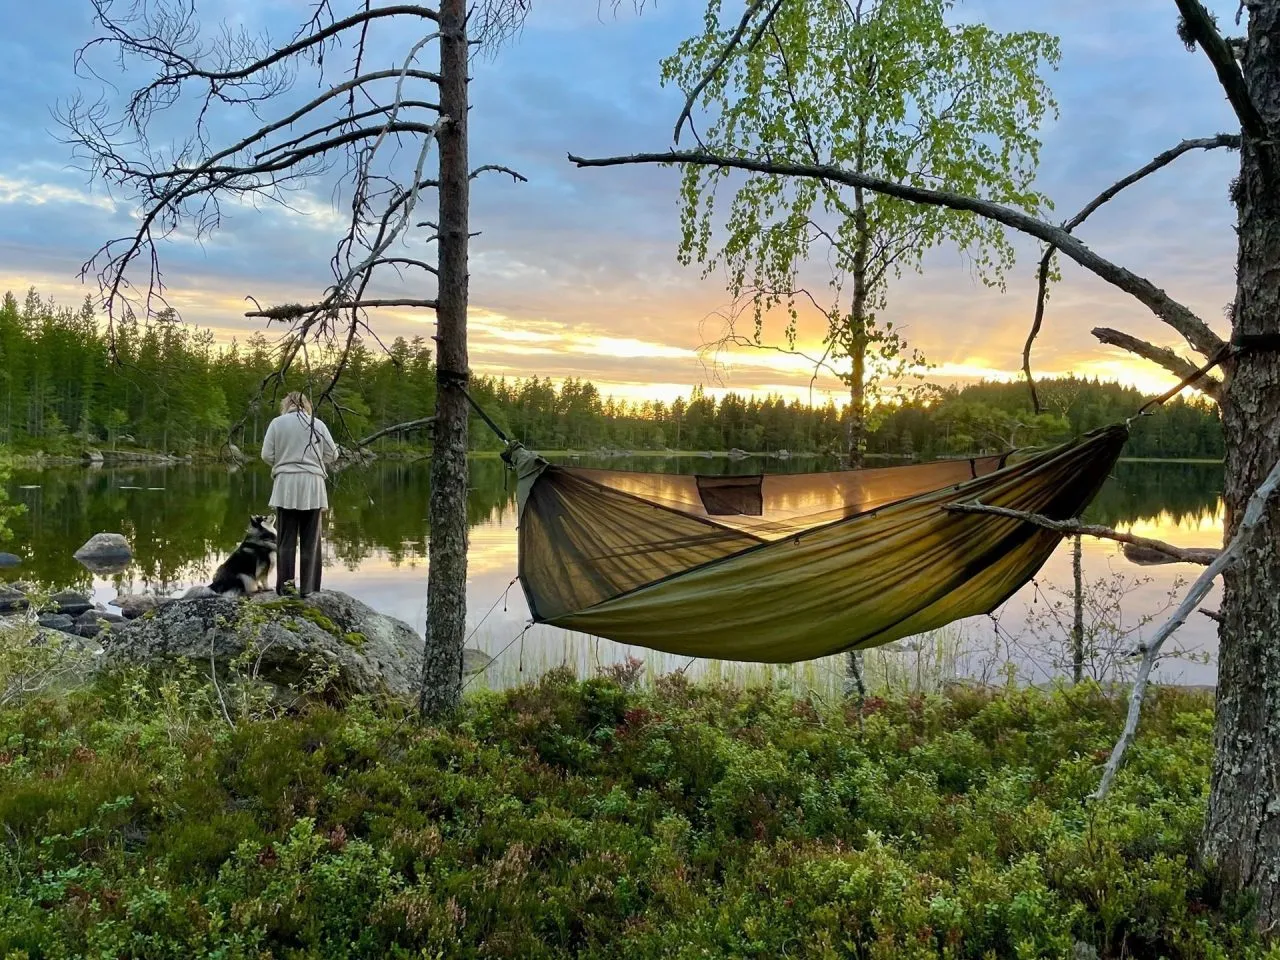
Lie straight down the centerline and your spine follows the fabric’s deepest curve — you become a banana. At the same time, the extra width has nowhere to go but up around your sides — you get cocooned (what Derek Hansen calls the “canoe effect”).
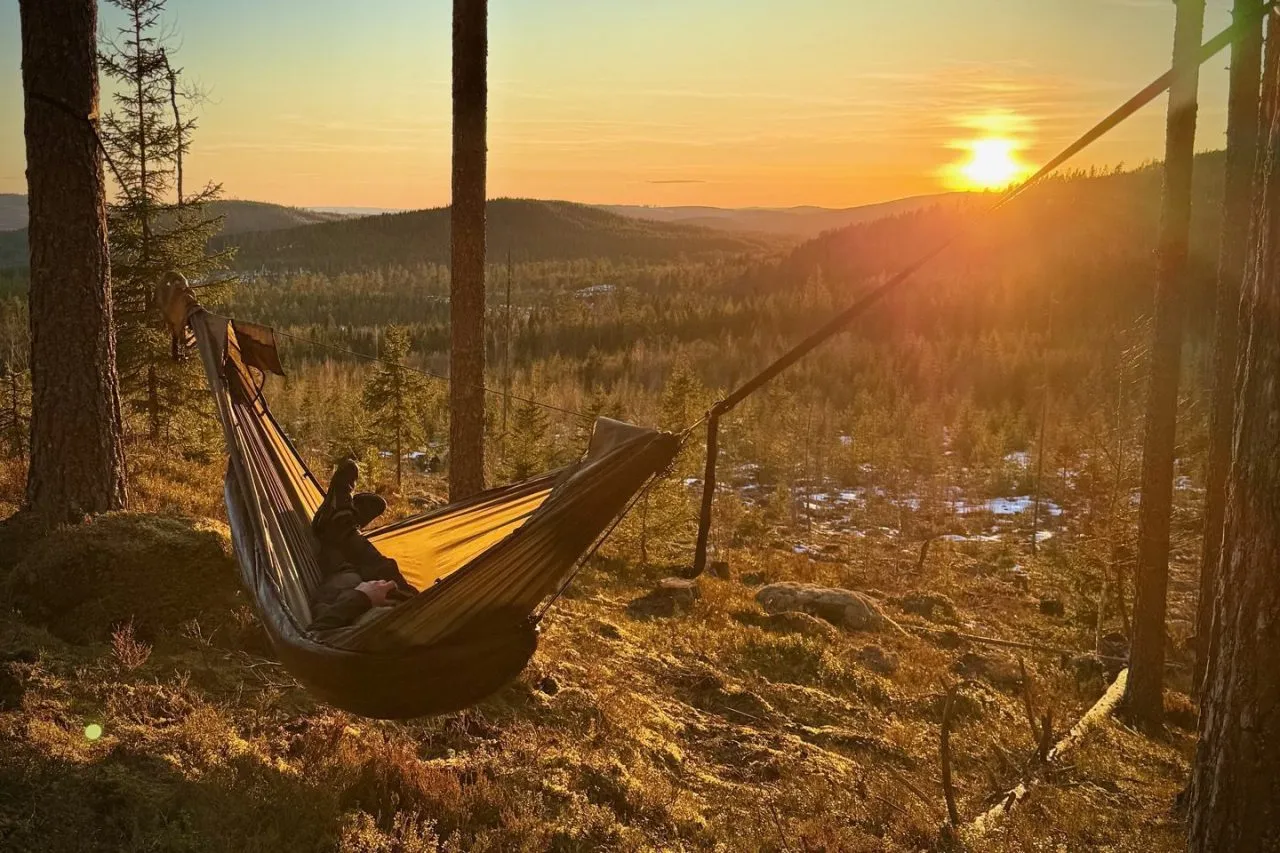
Lie diagonally instead and you rotate your body along a longer line that runs closer to corner-to-corner. Because there’s fabric pulling taut on both sides of you, the fabric directly beneath you goes rigid in two directions and flattens out to something close to a plane — while the excess fabric falls away as walls beside you instead of wrapping over you. Your head ends up near one edge, your feet near the opposite one. Your lower back gets supported through its natural curve instead of folded.
That’s why the two universal comfort levers are (i) deep sag (a loose, curved hang so the sides fall away) and (ii) lying diagonally. That part is settled and undisputed.
But does an asymmetric cut make it flatter? Here we have to be honest. An asymmetric hammock (Warbonnet Blackbird, Hennessy) builds the diagonal in and adds a sewn foot box and a gear shelf at the head end. That’s genuinely convenient. But it isn’t using different physics — and the claim that it produces a fundamentally flatter lay than a symmetric hammock of the same width is genuinely contested. The heavyweight technical argument on the forums is simple: your body still lies on a rectangle; it’s the mosquito net’s parallelogram cut that’s “asymmetric,” not the bed itself. Tuck the net out of the way and a symmetric and an asymmetric hammock of the same dimensions lie essentially the same. An asym’s real win is that it pre-positions the correct diagonal, adds a foot box and shelf, and saves net weight — not that it’s flatter.
In short: comfort comes from deep sag + diagonal lay, and it’s available in any gathered-end hammock. Buy an asymmetric for the foot box and the convenience — not on the promise of a fundamentally flatter bed.
2. Lying diagonally — how to actually get flat
The theory above is simple. Here’s how to put it into practice:
- Deep sag first. The diagonal only works if the hammock is loose enough (~30° hang, steeper if you’re short). A tight hammock can’t be slept in diagonally — it forces the banana shape and pinches your shoulders.
- Lie across the centerline, roughly 10–30° off-axis: head to one side, feet to the opposite one.
- Your feet are the biggest lever. Push your feet well out toward the opposite corner (in an asymmetric hammock: into the foot box). Planting your feet diagonally is, by itself, the single most effective move for flattening the lay.
- Your shoulders then settle into the sag on a flatter plane, with a wall of fabric on the other side keeping you centered.
The calf ridge. The most common complaint: a stiff ridge of fabric along the centerline that presses up under your calves and can hyperextend your knees. The cause is settled (you’re not lying diagonally enough); the fixes are several, take your pick: (1) lie more diagonally so your legs bridge over the ridge instead of onto it, (2) put a small pillow or a bundle of clothing under your knees, (3) raise the foot end a few centimeters, or (4) get a hammock with a foot box or a bridge hammock (spreader bars), which removes the ridge entirely — at the cost of more weight and less stability.
Shoulder squeeze in narrow hammocks is solved by width + diagonal + sag together. Width (not just length) is a real spec worth shopping on — a genuinely wide hammock is the most reliable cure for pinched shoulders.
Length. If you’re tall, you need a longer hammock (upwards of 300+ cm) just to get a comfortable diagonal. A too-short hammock is a hidden cause of “I can never get flat” — fix sag and length before blaming anything else.
Settled vs. personal taste: lying diagonally, pushing your feet toward the opposite corner, and the existence of the calf ridge — all settled. The exact angle (10–30°), which side you put your head on, and whether you need a knee pillow at all comes down to your body and your taste.
3. The ~30° hang angle — and why a tight hammock is dangerous
“Hang angle” means the angle between the suspension strap and the horizontal, measured at the tree. The target is ~30°. The number was popularized by Derek Hansen in The Ultimate Hang, and a common question about hammock hang angle is why 30° specifically. The answer: it’s a compromise between comfort and force, not a magic constant.
The force physics (fully settled — the strongest, least folklore-tainted part of this entire article). With body weight W and hang angle θ from horizontal, the tension in each suspension line is:
T = W / (2 × sin θ)
The vertical component is always W/2, regardless of angle. But the total tension — what the strap, the carabiner, the tree strap, and the knots actually carry — explodes as the hang gets flatter:
| Hang angle | Force per attachment point | 90 kg person → per end |
|---|---|---|
| 45° (very slack) | 0.71 × body weight | ~64 kg |
| 30° (target) | 1.00 × body weight | ~90 kg |
| 15° | 1.93 × body weight | ~174 kg |
| 10° (tight) | 2.88 × body weight | ~259 kg |
| 5° (bowstring-tight) | 5.76 × body weight | ~518 kg |
At 30°, each attachment point carries roughly one body weight. Pull the hammock flat to ~10° and each end sees roughly three body weights; at ~5°, nearly six. That’s exactly how straps fail and cheap carabiners let go. A “straight and tight” hammock is therefore both less comfortable and more dangerous — that’s where the breaking forces live.
How to set ~30° without a protractor: hang the strap as high as you can reach and let the hammock sag until the bottom sits ~40–50 cm off the ground (easy to sit into). Check it with the “finger-pistol trick”: hold up a thumbs-up “pistol” against the horizon — the angle between thumb and index finger is roughly 30°. Or use Derek Hansen’s Hammock Hang Calculator or a bubble-level app for an exact number.
Too tight (~10–15°): forces climb to 2–3× body weight (see table), the fabric pulls drum-tight so the sides pinch in, lying diagonally becomes difficult, and the raised center of gravity makes the hammock tippier. Too slack (~45°+): forces are actually lower, and a bit of extra sag helps the diagonal — but go too deep and you collapse into it, end up feet-up/head-down with more cocooning, and risk bottoming out on the ground.
Settled vs. contested: the trigonometry is settled Newtonian mechanics and matches measured values. That 30° specifically is “correct,” though, is a starting point, not a law — tall people often prefer ~25°, short people ~40–45°. And with a structural ridgeline (next question), the lay is locked in by the line regardless of angle; then the angle mostly affects force and step-in height, not comfort.
In short: hang the straps high, aim for ~30°, keep the bottom ~40–50 cm off the ground. Never straight and tight. Go steeper if you’re short, flatter if you’re tall.
4. Structural ridgelines and the 83% rule
A structural ridgeline is a fixed, low-stretch line (Amsteel/Dyneema) strung between the hammock’s two ends, above you. “Structural” means it carries load and sets the shape — unlike a non-structural ridgeline (just shock cord) that holds up a bug net but doesn’t affect the lay.
Why it gives you a repeatable sag (settled geometry). Without a ridgeline, the curve is set by how hard you pull the suspension and how far apart the trees are — the lay changes every time. Add a fixed line between the ends, and now the line, not the suspension, sets the maximum distance between the ends. Once you’ve pulled tight enough to make the line taut, the fabric is forced into one fixed curve. Pull harder and you just load the line more — the shape doesn’t change. Result: the same comfortable lay every night, regardless of tree spacing. Dial it in once and you keep it.
The exact catch (this is where people go wrong): the line only sets a ceiling on the sag. If you hang loose enough that the fabric wants to sag more than the line allows, the line goes slack and does nothing — you’re back to a variable lay. So the rule is: hang tight enough to keep the line taut, and everything downstream of that is repeatable.
The 83% rule. Set the ridgeline to roughly 83% of the hammock’s flat, laid-out length. A 335 cm (11 ft) hammock → ~278 cm ridgeline.
Where does 83% actually come from? Here’s the honest answer. It’s an empirical rule-of-thumb number, not a derived one. It’s rooted in the ratio 5/6 = 83.33% (a classic 120-inch hammock was built with a 100-inch ridgeline; 100/120 = 5/6), which was then generalized — arrived at through trial and error across a lot of users. The tidy “cos(30°) = 86.6%” explanation that circulates online is an after-the-fact rationalization: model the hammock as a triangle at 30° and the ridgeline comes out to 86.6% of the fabric length. But a real hammock isn’t a triangle — the fabric forms a catenary curve, the gathered ends bunch up fabric (shortening the effective length), and nylon stretches under load. So the geometric 86.6% ends up too long, too tight, in practice, and the empirical 83% is what actually feels right. Presenting 83% as derived from trigonometry is folklore wearing a physics costume — the two numbers simply aren’t the same number.
Is it exactly 83%? No — it’s a starting point within a narrow band, ~81–85%. Want a flatter bed: go shorter (~84–85%) — counterintuitive, but a shorter ridgeline pulls the ends closer and stretches the fabric flatter. Want more cocoon: go longer (~81–82%). Body size matters, so treat 83% as your calibration starting point and fine-tune over a few nights.
Ridgeline or not — genuinely contested (taste, not physics). For: repeatable comfort, protection against over-tightening (you physically can’t pull the fabric tighter than the line allows), and an attachment point for an organizer, tarp, or bug net. Against: plenty of experienced hangers run no ridgeline at all and adjust the sag by feel for the site — and a mis-cut line locks in a bad lay (too short = permanently too tight, too long = you can never get it tight enough). The physics only tells you that a ridgeline makes the lay repeatable and caps the sag; whether that’s worth giving up on-the-fly adjustment is a matter of taste. Our take: a ridgeline (~83%, then fine-tuned) for beginners and anyone who wants set-and-forget comfort; experienced hangers can skip it with a clear conscience.
5. Underquilt or sleeping pad? (and what “Cold Butt Syndrome” actually is)
Settled physics, no argument: your body weight compresses the insulation underneath you to near-zero loft. Compressed down or synthetic barely insulates at all — it’s the loft (the trapped air) that keeps you warm. That’s why you go cold from below even inside a warm sleeping bag: Cold Butt Syndrome. On top, you’re warm; underneath, cold air moves through and pulls heat away. It’s often noticeable below ~15°C and gets genuinely uncomfortable around ~5°C. You must have insulation underneath you in a hammock. Full stop.
There are two solutions, and the choice between them is where the debate lives:
- Underquilt (UQ): hangs outside, underneath the hammock, so it’s never compressed by your weight. Full wraparound, stays put, doesn’t affect your lay. Downside: cost and weight, it’s hammock-specific, and fit/gaps take a bit of fiddling.
- Sleeping pad: sits inside and resists compression structurally (foam or inflatable chambers). Cheap, and doubles up with a ground tent. Downside: it slides on the slick fabric and bunches up, it crinkles, and the hammock’s curve wraps your shoulders and hips past the pad’s edges → cold shoulders. A wide or winter-rated pad helps.
Settled vs. contested: that you need bottom insulation is settled (compression kills insulation — this is the principle behind Richard Nisley’s measurements). Which solution you choose is the debate: a UQ is almost always the better call for cold or regular use; a pad wins on budget, dual-use, and simplicity in warm weather. Below freezing, a UQ is effectively mandatory.
Not sure how warm a UQ you need? Run our warmth calculator, check tonight’s forecast with our hammock weather tool, and read the underquilt guide. Or go straight to our underquilts.
In short: warm/summer or budget/dual-use → sleeping pad (get a wide one, expect some fiddling). Regular use or cold → underquilt. Below freezing → underquilt.
6. Single layer or double layer?
A double-layer hammock has two full-body layers of fabric, forming a pocket you can slide a sleeping pad between. That solves the pad problem outright: the pad can’t slide away, so you’re not fixing it at 2am and you skip the cold shoulders. It also gets you:
- Higher weight capacity. Two layers share the load. One example (Dream Hammock, cited by Derek Hansen): 1.6 oz fabric as a single layer carries ~280 lb; as a double layer, ~448 lb — ~75% more.
- Lighter denier per layer for the same strength. Two thin layers beat one thick one on strength. But the double layer still weighs more overall.
The cost of doubling up: heavier overall, more expensive, warmer, and less airflow in summer, plus a bit of fiddling to get a thick pad in. Single layer = lighter, cooler, cheaper, simpler — but the pad slides, so you’ll lean on an underquilt instead.
Settled vs. nuanced: if you specifically want to sleep on a pad, double layer is the better platform (the pad stays put), and it’s the standard path to higher capacity. But — and here’s the nuance — is pad-in-double-layer even the best insulation? Hansen’s own counterargument: a pad inside your sleeping bag or quilt can beat it (the pad moves with you), and not every double layer fits every pad type (thick pads bow instead of wedging in). Plenty of experienced hangers prefer an underquilt over a pad-in-hammock setup entirely. So “double layer for pad users” is the established default advice — but one valid path among several, not the only correct one.
In short: double layer if you sleep on a pad, don’t mind the weight, want margin on capacity, or want an extra bug barrier. Single layer if you’re counting grams, camp in warm weather, use an underquilt, or want cheap and simple (a solid beginner choice).
7. Differential cut — why the inner layer is smaller than the outer
A differential cut means a quilt’s inner fabric is cut smaller than its outer fabric. The down sits in the gap between a shorter inner layer and a longer outer layer.
The geometry. When a quilt wraps around a curved surface — the underside of a hammock, or your torso — the inner layer rides on a smaller radius than the outer layer. Two concentric arcs over the same angle have different lengths; the outer arc is longer. If both layers are cut the same (a “box cut”), something has to give when you force the quilt around the curve: the outer layer pulls taut on the long radius while the inner layer now has “too much” fabric on the short one — the baffle collapses, the down gets squeezed against the inside of the curve, loft drops, and you get cold spots. Cinching an underquilt tight against the hammock (which you need to do to seal gaps) makes it worse. A differential cut shortens the inner layer by exactly what the geometry demands, so both layers sit taut on their own radius and the down reaches full thickness.
Settled vs. overstated: for down underquilts, differential cut clearly helps — it’s often called “critical,” precisely because a UQ is held under tension against the hammock. That part is settled. For topquilts, though, it’s genuinely contested, and the skeptics have the better physics: a topquilt is only compressed by gravity — no shock cord is pulling it around a curve — so several experienced makers say a box cut is fine, because the quilt’s sheer volume absorbs any wrinkles. This is actually the most overstated claim in the whole hobby. Don’t repeat it as a general rule: differential cut belongs on underquilts.
In short: insist on (at least a mild) differential cut on a down underquilt. On a topquilt it’s nice to have but not a deal-breaker — extra fill covers for it.
8. Down or synthetic in an underquilt?
The material trade-offs are settled and consistent across neutral (REI), balanced (Enlightened Equipment, who sell both), and down-friendly (Hammock Gear) sources:
| Down | Synthetic (e.g. Climashield APEX) | |
|---|---|---|
| Warmth-to-weight | Higher | Lower (heavier for the same warmth) |
| Pack size | Packs much smaller | Bulkier |
| Wet/damp | Loses loft, dries slowly | Insulates damp, dries fast |
| Lifespan | Longest — if kept clean & dry | Degrades faster |
| Price | Higher | Cheaper |
The underquilt-specific angle (the strongest argument for synthetic). A UQ hangs underneath the hammock — the worst possible position for moisture. It’s exposed to wind and to ground and condensation moisture from below, while your own body moisture migrates outward and downward through the hammock fabric into it, all night. Over several damp, cold nights, moisture builds up in the fill — and synthetic handles that far better than down. On top of that: in cheap, light down UQs, the down can shift unevenly and create cold spots, where a synthetic sheet stays more uniform.
When synthetic actually wins: persistently damp or wet, condensation-heavy, maritime or damp-cold climates (read: Scandinavia, the UK), multi-day trips with no chance to dry the fill, and budget.
Settled vs. contested: the material properties above are settled. The debate is how often “wet” actually happens in the field. The down camp: rarely — with good camp discipline you keep your gear dry, and a damp (not soaked) down quilt still keeps you warm; hydrophobic/DWR down helps but doesn’t fix it. The synthetic camp: damp cold + condensation + multiple nights makes it routine, and the UQ is the most exposed piece of gear you own. Both positions are defensible — it comes down to your actual climate and trip length. (Also worth noting: a “cold spot” complaint is often a fit problem, not a material problem — the UQ isn’t cinched tight against the hammock.)
Honesty flag: the often-cited rules of thumb — “down ≈ 2× synthetic per gram” and “synthetic loses 30–40% over two years” — are attributed to Richard Nisley, but we couldn’t verify the exact figures word-for-word from the original source. Treat them as community estimates, not verbatim quotes. The direction matches everything we could verify.
Honest bottom line for a Nordic climate: in a wet, maritime climate, on multi-night trips, or on a budget, a synthetic underquilt is a smart, defensible choice despite the weight — precisely because the UQ lives in the wettest spot on your setup. In dry cold, on weight-critical trips, or where you can dry your gear (and can afford down and are willing to look after it), down wins clearly. Want to go deeper? Read our down vs. synthetic comparison and the winter guide.
9. Whoopie slings, buckles, or straps — does it matter?
The three common suspension systems, honestly assessed:
- Whoopie slings: an adjustable Amsteel/Dyneema loop with a finger-trap lock. Lightest — but must be paired with separate tree straps (huggers), since the thin line will otherwise damage bark (+1–2 oz).
- Cinch buckles: webbing through a metal buckle. Fastest to adjust, glove-friendly, doesn’t slip, beginner-friendly — but heavier (more hardware).
- Daisy chain / straps with sewn loops: simplest, cheapest, and most bark-friendly (wide webbing), but stepped (fixed loop positions instead of stepless adjustment) and can weigh more.
One concrete, settled trade-off — tree spacing. A pure webbing system lets you hang between trees barely farther apart than the hammock is long (an 8-ft hammock between trees ~8.5 ft apart). A short whoopie sling needs much more spacing, since the fixed line length has to fit between the hammock end and the tree. Straps = more flexible for tight or uneven tree spacing.
Settled vs. taste: the mechanics above are settled; “best” is taste. Gram-counters → whoopie slings + tree straps. Convenience/beginners → cinch buckles. Simplicity, durability, variable tree spacing → daisy chain. Always use wide tree protection regardless of system.
10. Tarp — hex, or a winter tarp with “doors”?
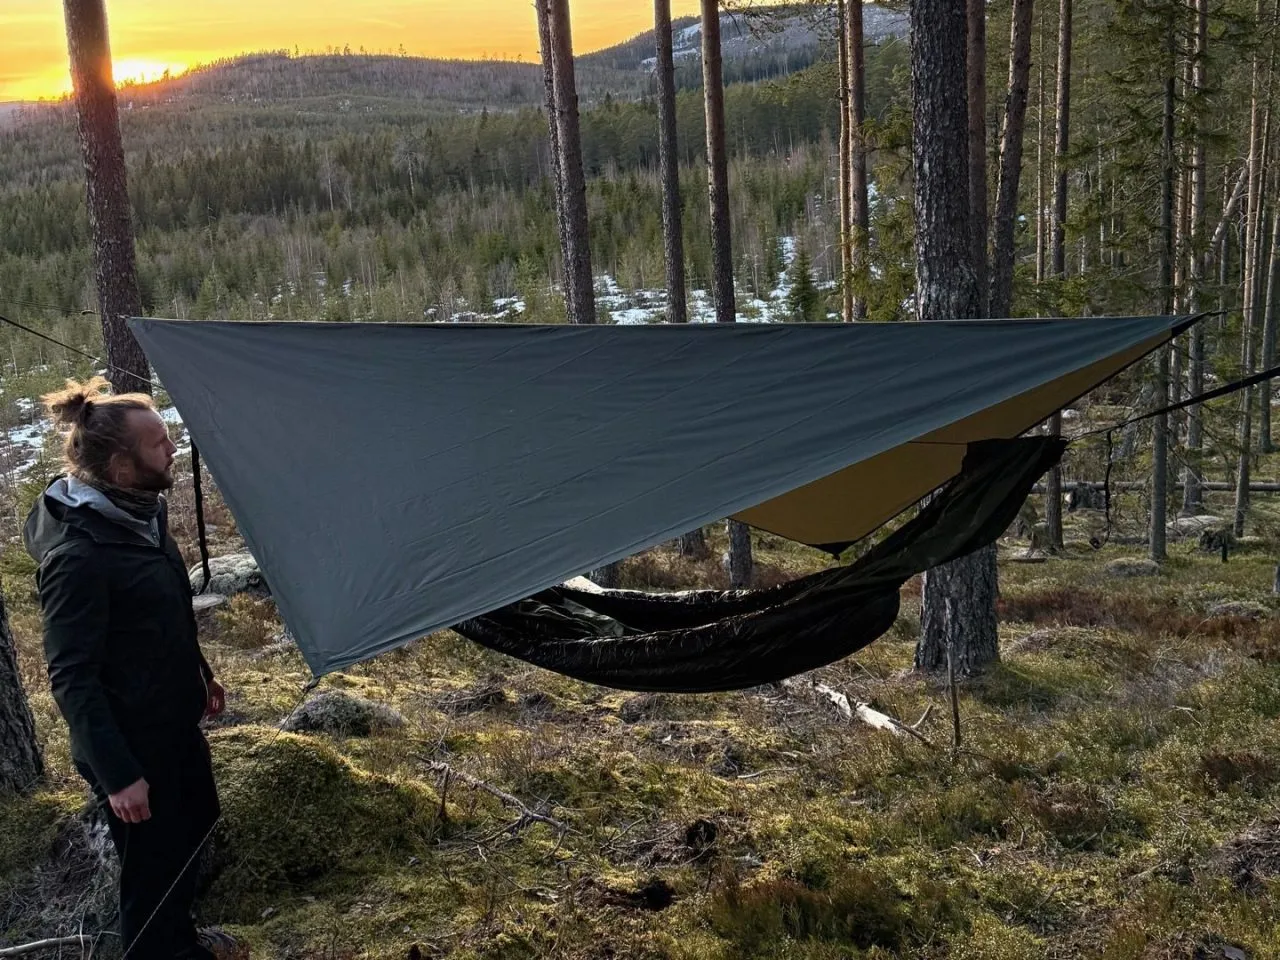
Settled baseline: the tarp should extend at least ~15 cm past each end of the hammock; a ridgeline of ~360 cm gives close to maximum coverage for most people.
From there, it’s a settled trade-off between coverage and weight/skill:
- Asymmetric (a-sym) tarps: least fabric, “bikini coverage,” requires diagonal placement. A smaller tarp demands more skill to stay dry under.
- Hex tarps: the versatile middle ground — nearly the same ridgeline coverage as larger tarps at a lower weight, solid for three-season use. No doors, so the ends are exposed to side-blown rain and snow.
- Winter / full-coverage tarps with “doors” (Warbonnet Superfly, Hammock Gear with doors): the ends fold in and close off all four sides against wind-driven rain and blowing snow. Maximum protection — at the cost of more weight, more bulk, more condensation, and a fiddlier pitch.
Settled vs. contested: the trade-off curve (more coverage = more weight / less airflow) is settled. How much you actually need is contested and depends on location and season — plenty of people run genuine three-season trips under a doorless hex and pitch it low and tight in a storm; others swear by doors the moment the wind picks up or it starts snowing. In a storm: pitch low and tight regardless of shape.
In short: summer/light → a-sym. General three-season → hex (the default choice). Sustained wind, driving rain, or snow → doors.
Sources
A note on method: we couldn’t machine-render certain pages on HammockForums and SectionHiker (they block automated scrapers), but they load normally in a browser and their content was confirmed through multiple independent searches. The force physics (T = W / (2·sin θ)) and the ridgeline geometry are settled mechanics we worked through ourselves. Specific figures often attributed to Richard Nisley we treat as community estimates, not verbatim quotes.
- Derek Hansen, The Ultimate Hang: Hammocks Are Comfortable · Pitch-perfect tips (30°) · Double or single layer · Tarp coverage comparison · Wooki UQ review (differential cut) · Hammock Hang Calculator
- SectionHiker: Knee/calf ridge · Length & comfort / diagonal · Single vs double layer
- HammockForums: Symmetrical vs asymmetrical · The 83 Percent · Ridgeline vs no ridgeline · Synthetic vs down underquilt · Basic differential-cut underquilt
- Physics & calculators: Omni Hammock Hang Calculator · Backpacking Light: differential cut · Gear Assistant: ridgeline length (83%)
- Down vs synthetic: REI (neutral) · Enlightened Equipment (balanced) · Hammock Gear (down’s side)
Did we get something wrong, or do you know a detail better than we do? Write to us — we’d rather fix it than be wrong.